
File Storage, Transfers and Backups on Mac OS 9 and earlier

A lot of the early Macs (pre-G3) don't have USB ports, so transferring files and backing up data can become tricky. One of the more simple solutions for file storage and transfers between Mac OS 9 and modern Macs/PCs is to use a NAS (network attached storage) drive. A NAS drive is a box containing one or multiple hard drives and connects to your internet router. Any computer that's connected to your local network can access the NAS drive and the contents stored on it. Transferring data over USB on Mac OS 9 can be incredibly slow due to it only utilising USB 1.1 drivers. Transferring files from a NAS drive over Ethernet is a much faster option.
Choosing a NAS Drive
When looking for a NAS drive you need to ensure you find one that supports AFP - Apple Filing Protocol. By using the AFP protocol for file transfers you can easily connect to the drive on Mac OS with the Network Browser application. This allows you to mount the drive onto your desktop as a normal hard drive would appear.
File transfer speeds over ethernet are typically the same speed as duplicating a file on the HD of your computer, or faster.
I have tested the following NAS Drives which have all performed exceptionally with both physical HDDs and SSDs.
- Asustor AS1004T
- Western Digital My Cloud EX2
- Netgear ReadyNAS NV+
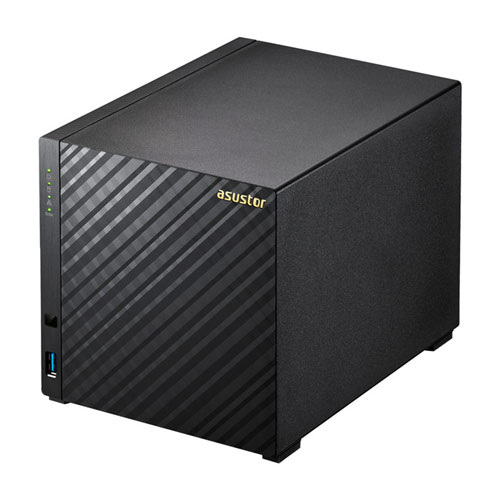
Asustor AS1004T |
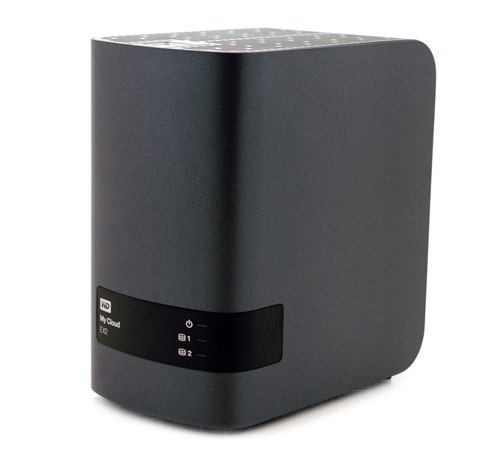
Western Digital My Cloud EX2 |
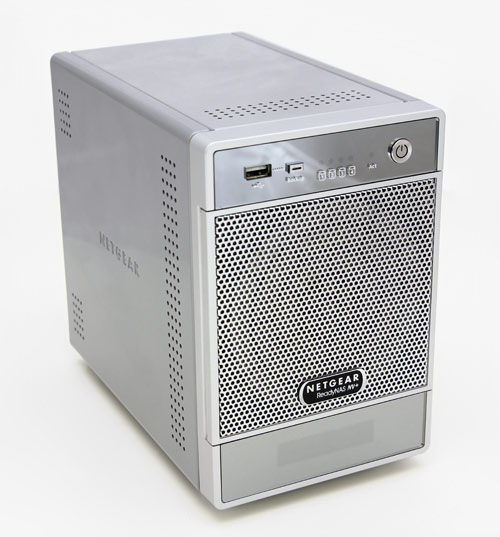
Netgear ReadyNAS NV+ |
NAS Drive Setup
Once you've got a NAS Drive you will need to set it up as per the included instructions with a modern computer.
It is advisable to set a static IP address for for the device so you don't need to re-enter a different IP address (192.168.1.72) each time you want to access it. The method for doing this will vary across different brands but below I will explain how to do this with the WD My Cloud EX2.
- Connect to your device via your internet browser
- Go to Settings and then select Network from the sidebar.
- Under the Network Services heading click Static for the IPv4 Network Mode
- Choose an IP address (you can make up anything) that is within the range of your router.
Example:
If your router's address is 192.168.1.1 you could change only the last number. Choose a higher number so that it won't conflict with any other devices on your network, but keep it under 255. E.g. 192.168.1.72. - Enter the same subnet mask than your other devices are connected to. You can check this on your Mac via System Preferences > Ethernet/Wifi settings > TCP/IP
- For the Gateway IP Address and DNS Server1 enter your router's address e.g. 192.168.1.1
- Leave all other fields empty and make sure the VLAN option is disabled when prompted.
- Apply the settings
- Make sure the AFP protocol is enabled on whatever device you are using
- Add a user to the NAS drive so you can use these credentials to connect to it and define which directories will be shared. When choosing a password make sure it's not too long. Mac OS has a bizzarre character limit for passwords on Network browser. I've had success using a 6 character password.
Network Settings |

Static IP Settings |
Example Router settings to copy |
Connecting to your NAS Drive
Make sure you are connected to the internet/same local network and open the application Network Browser.
- Click on the connect to server button (furthest to the left)
- Enter the static IP address you set for the device, but with 'afp://' at the start of it
- Enter the user credentials that you set up with the NAS drive
- Choose which shared volume to mount and double click it to mount it to the desktop
- Create an alias of the drive so you don't have to repeat the above steps each time you want to access the drive
1. Connecting to your device |
2. Enter your user credentials |
3. Select which shared volume to mount |
4. Create an alias of your device |
Icon Pack

21/02/2022 Update:
Western Digital My Cloud have officially dropped support of AFP (Apple Filing Protocol). If your network drive is running firmware above version 5.18.117 you will no longer see an option for AFP Service, and will no longer be able to connect to devices over AFP.
You can downgrade the firmware of your device easily, but do this at your own risk. To do this, log into the web portal and navigate to Settings > Firmware Update > and upload the firmware file for your device with the Update from File button.
The firmware file for the WD MyCloud EX2 Ultra can be downloaded here - do this at your own risk, we do not take responsibility if you brick your device.
Related Pages

|
File Synchronization and Backups06 August 2022
Finding the best tool to manage backups and file synchornization across devices |
Post a Comment