Power Mac G4 MDD ATX Conversion

16 April 2024
During normal operation of my Power Mac G4 MDD (Mirror Drive Door), I noticed it becoming increasingly unstable. It would crash often, USB devices wouldn't receive power and it eventually became so unreliable I couldn't use it.
I decided to remove the power supply and check it's current state. Upon opening the power supply I noticed that many of the capacitors were bulging and beginning to leak, and this explains why I was having so many problems with stability.
The Mac OS 9 Lives user Fdb/FBz/aBc provided me an excellent diagram of my particular power supply which noted each capacitor type/value for replacement. While I do plan to refurbish the original power supply eventually, I needed a quick fix and since I already had a MDD to ATX adapter this was the easiest option.
SFX seems to be the best PSU (power supply) form factor in terms of it fitting nicely inside the MDD, while allowing room for PCI cards.
Here's the equipment I purchased for this project:
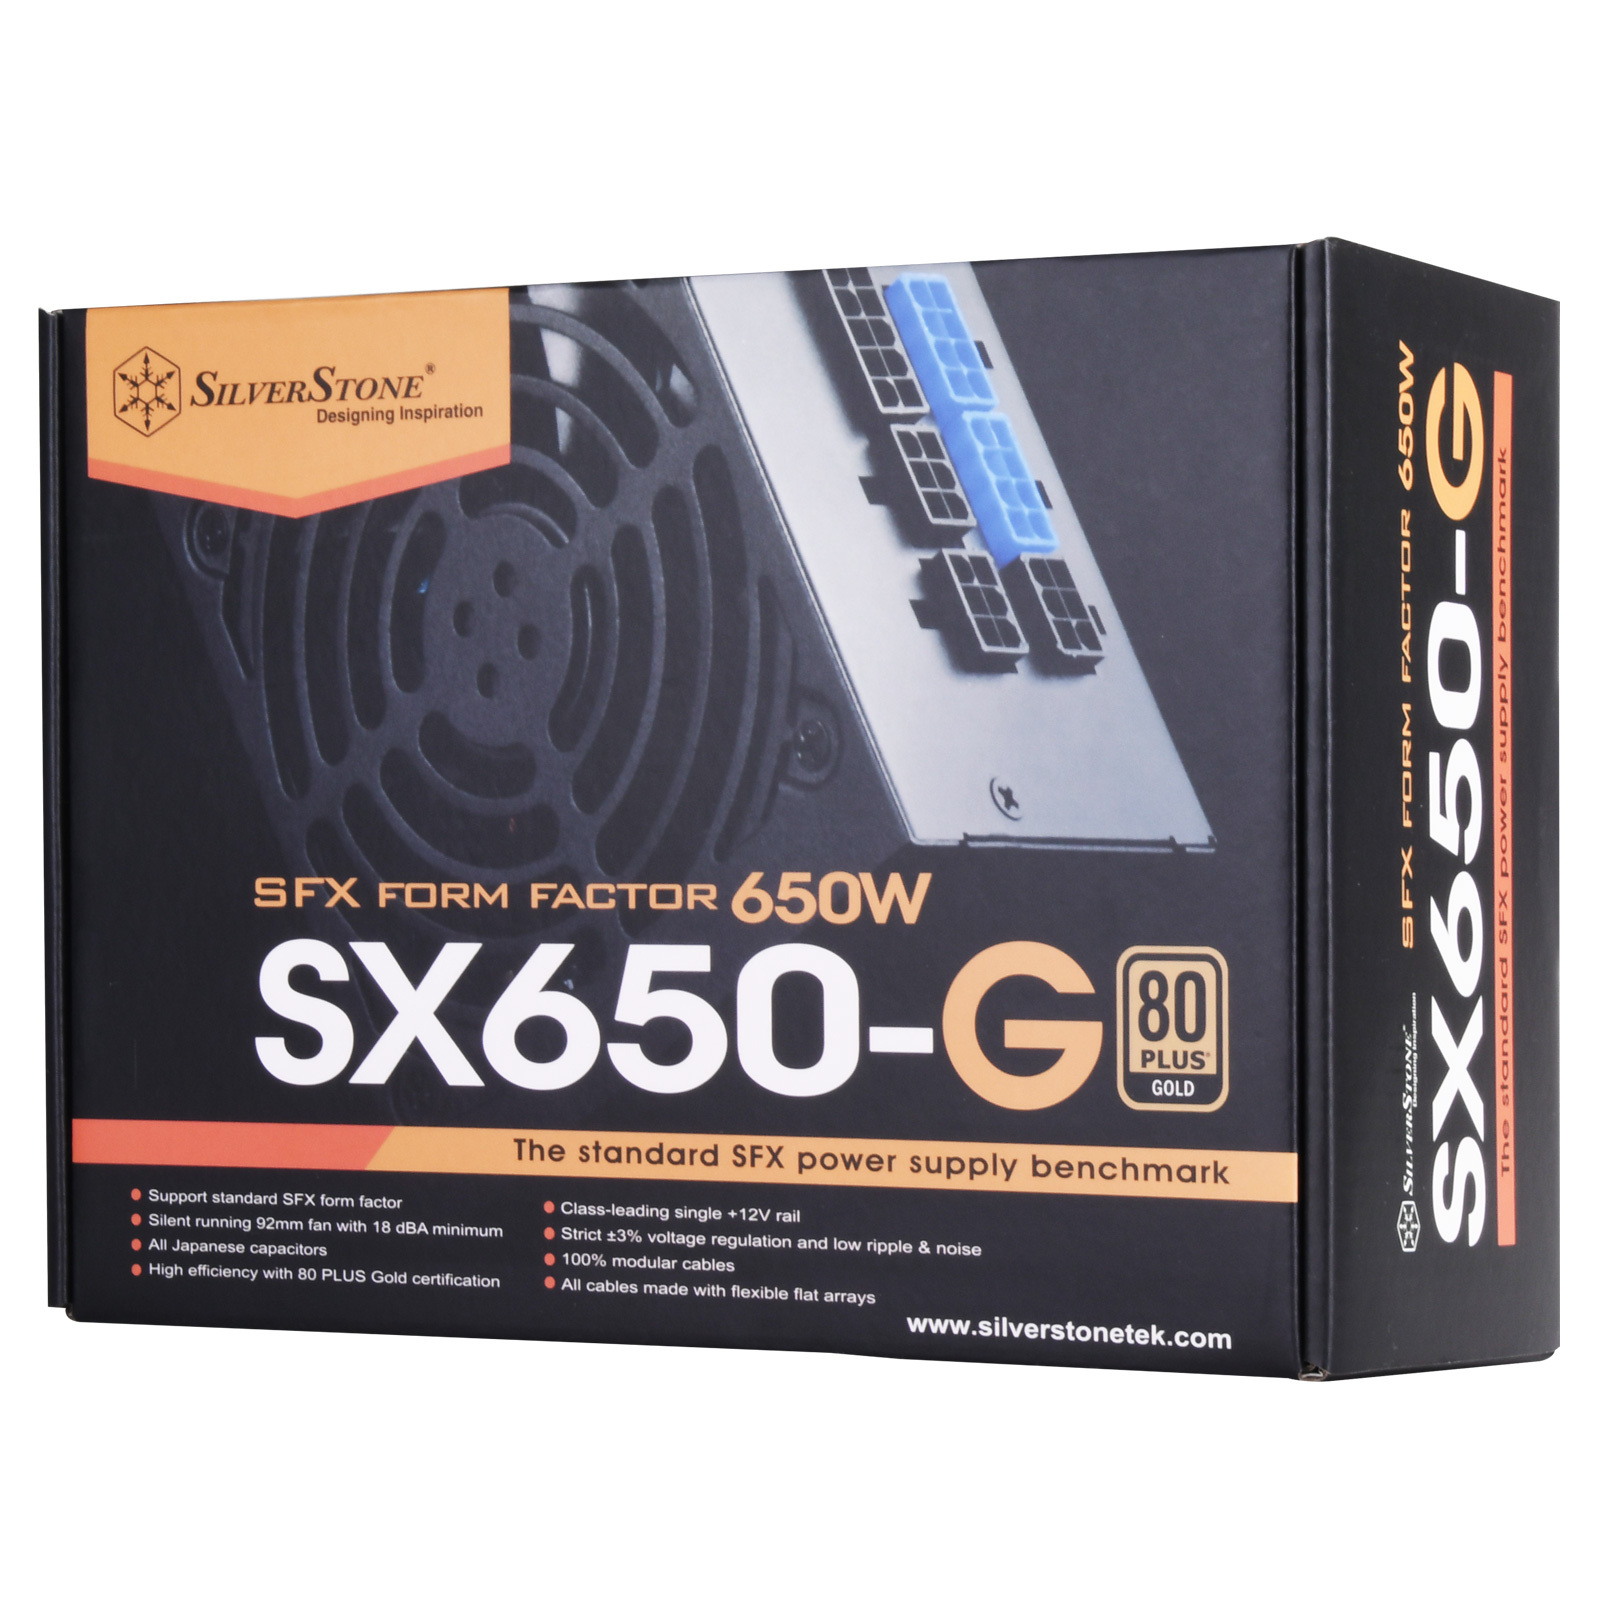
SilverStone SX650-G |
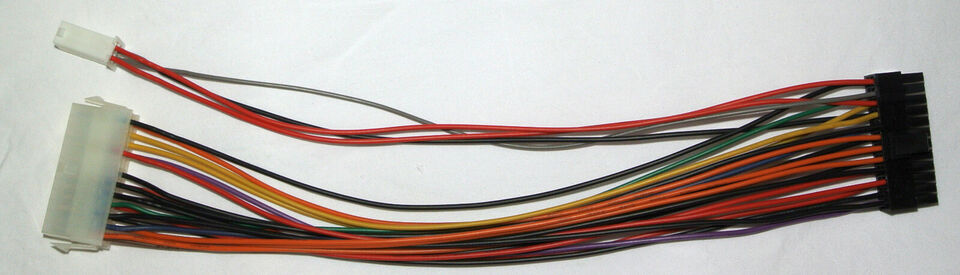
Power Mac G4 MDD ATX Adapter |
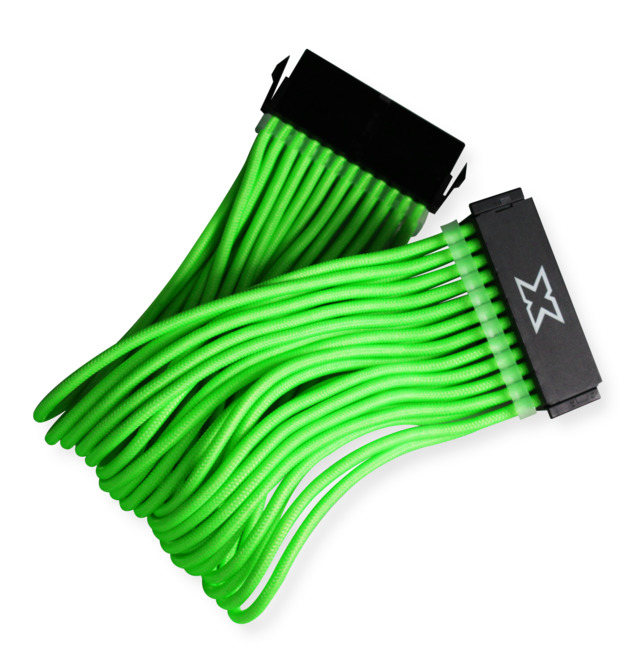
ATX extension cable |

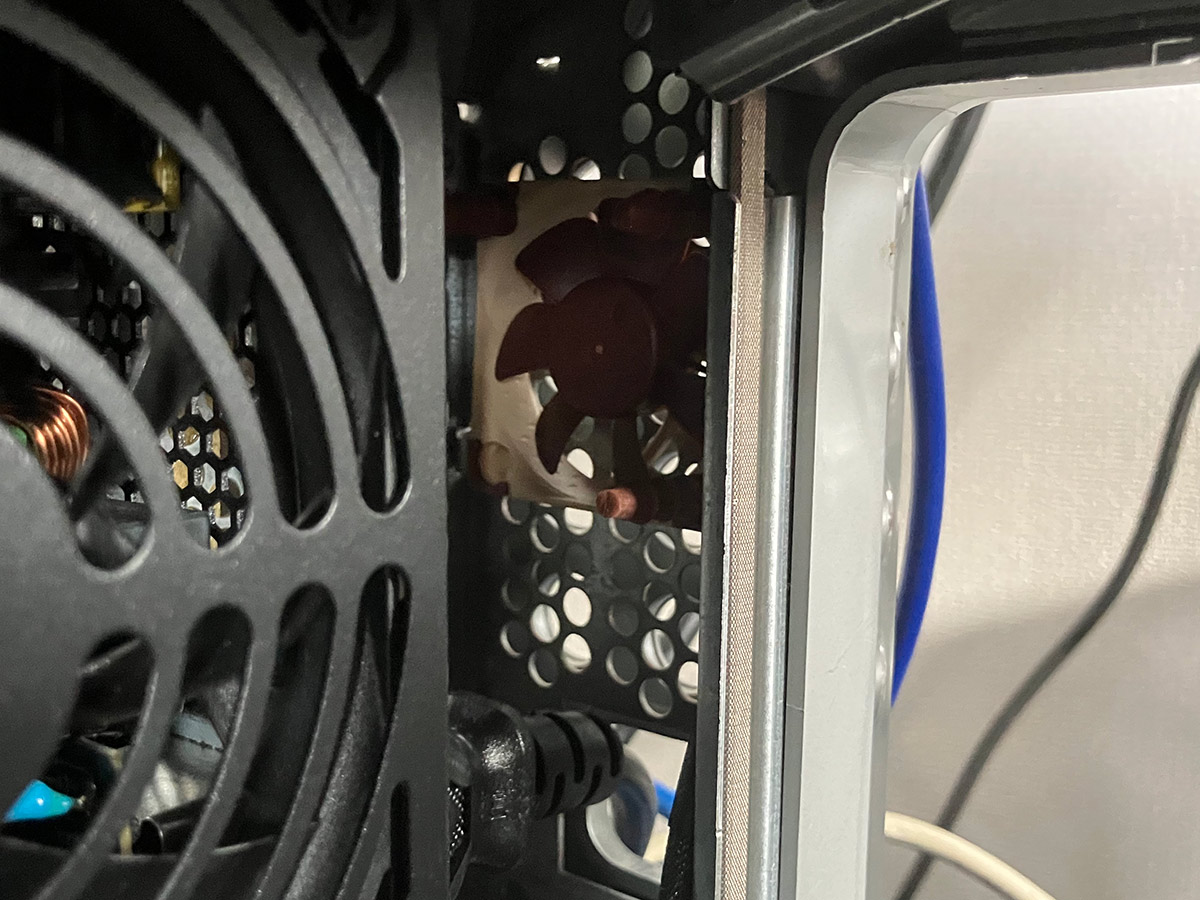
Noctua NF-A4x10 |
Considerations
ADC Monitors
One thing to note when purchasing a power supply is that some/most ATX PSUs don't have the +25v configuration required for ADC power. This means that the Mac will no longer be able to power ADC monitors (Apple Cinema Displays). I don't have an ADC monitor to test with the Silverstone PSU, but if it's not present you can pull and move pins to the +25v spot.
Deep Sleep
Another consideration is that some power supplies don't supply the 5v needed for deep sleep. This means that your Mac won't be able to fully enter sleep mode, or it may experience freezes when waking up. Thankfully, the SilverStone SX650 does provide the 5v required for deep sleep.
Video Card Support
Some video cards won't work unless you have made adjustments to supply the +25v needed for ADC. I've had limited success with AGP video cards that have an ADC port, and they seem to cause issues with deep sleep, with the exception of the NVIDIA GeForce4 MX 400. The PCI cards I have tested allow deep sleep, but often display a corrupted image when waking from sleep. This may be due to the power supply not providing enough power to the PCI slots while the computer sleeps.
Here are the cards I have tested with the SilverStone SX650:
Video Card | Interface | Memory | Functions with SX650 PSU | Deep Sleep Support | Image Corruption on Wake |
|---|---|---|---|---|---|
NVIDIA GeForce 4MX | AGP | 64MB | Yes | No | N/A |
NVIDIA GeForce4 MX 440 | AGP | 32MB | Yes | Yes | None |
ATI Radeon 9000 | AGP | 64MB | No | N/A | N/A |
ATI Radeon 7000 Sapphire | PCI | 64MB | Yes | Yes | Yes |
ATI RV6P-NA3 (PC Flashed) | PCI | 32MB | Yes | Yes | Yes |
If you are going ahead with an ATX conversion I recommend using the NVIDIA GeForce4 MX 440.
* The functional ATI PCI cards required the 2002 driver update before they were fully functional.
* The NVIDIA GeForce4 MX 440 works best with the Mac OS 9.2.2 base installation drivers. The 2002 drivers can sometimes result in a black screen when extensions start loading.
USB Issues
I've noted that some USB devices will cause issues with this setup. For example, keeping a USB drive plugged in can cause lockups when booting into the Finder, shutting down the computer, coming out of full screen applications and reloading the Finder, and when Bus scanning occurs (e.g. opening Apple System Profiler). I did experience some of this behaviour before replacing the PSU so it may not be 100% related. Leave a comment if this hasn't been an issue for you.
ATX Extension Cable
Some pins in the ATX conversion cable were loosely fitted which resulted in them losing connection when the PSU cable had any slight amount of tension put on it from the case being closed. This resulted in poor performance and an unstable system. To address this I cable tied the wires together in the ATX conversion cable and used an ATX extension so it would have plenty of slack. With these adjustments the cable has plenty of wiggle room and works flawlessly.
Installation


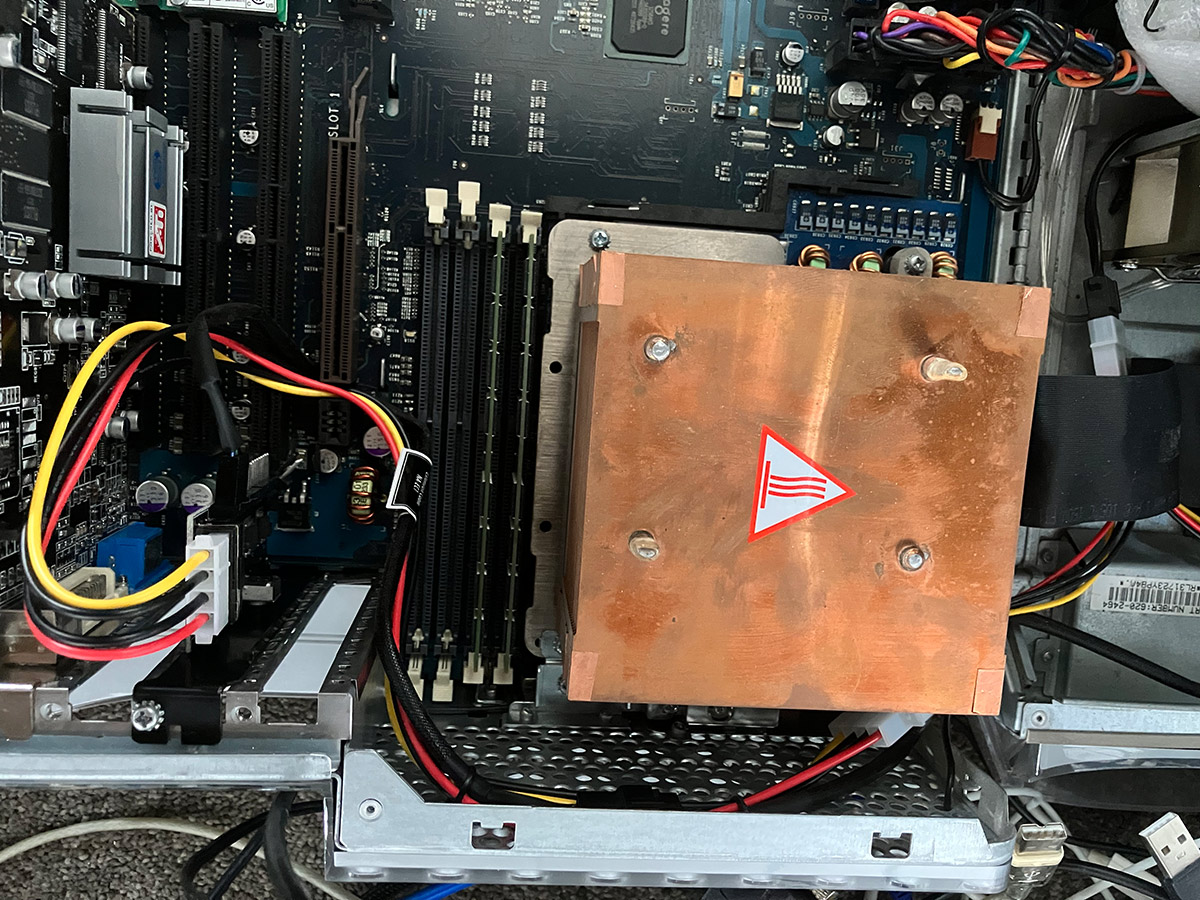
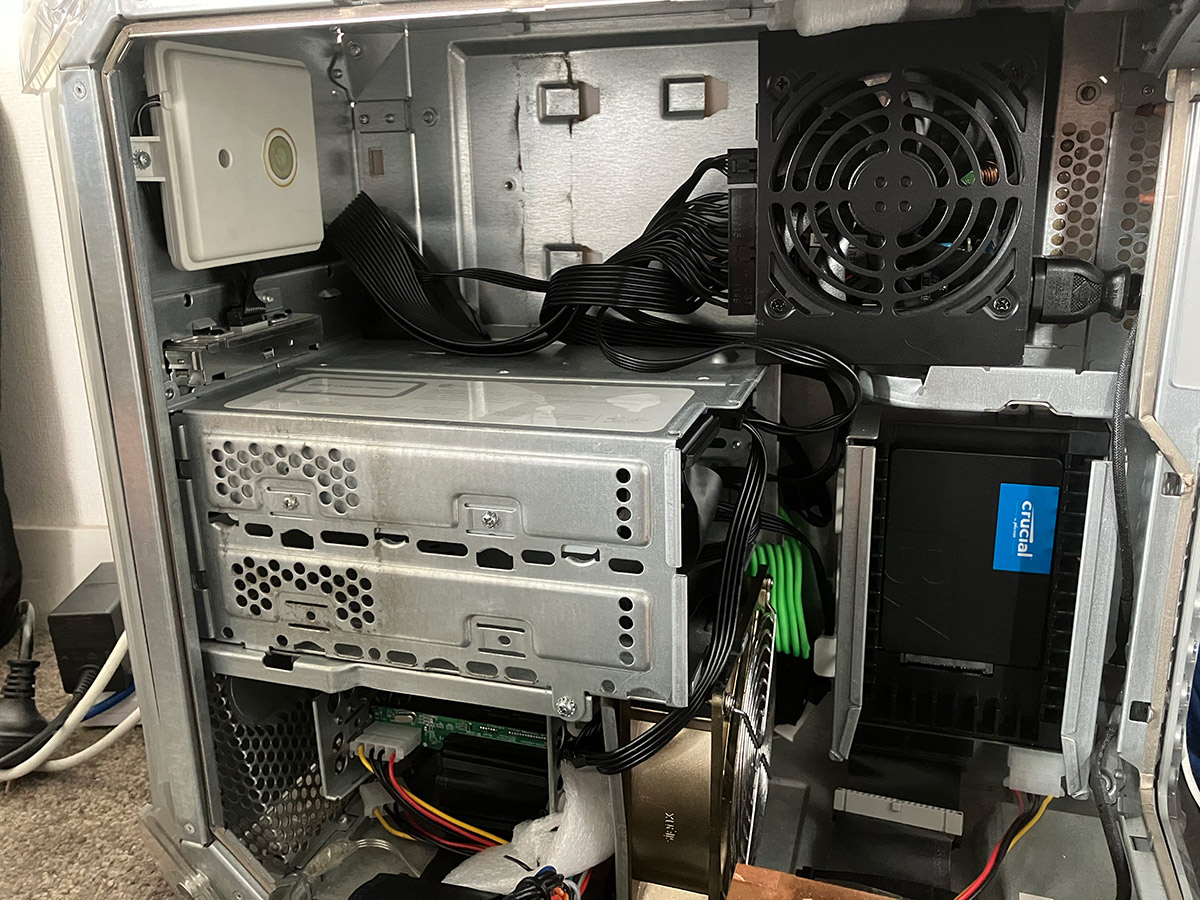
Finishing
The SilverStone PSU fits almost perfectly for the power cable to remain in it's original position, but the socket is oriented the wrong way. This means you have to place the power cable inside the case slightly to plug it in. I found this to be a good thing because since the PSU's intake fan receives all of the heat produced by the PCI cards, there is enough room to attach some small exhaust fans to the case for expelling the heat. I attached a Noctua fan just above where the power cable enters which provides excellent airflow.
There's also nothing to secure the power supply to but wedging some foam above it keeps it secure in place of the old power supply.
Comments
Bruce
31 July 2024
Hi - I am just doing this conversion and am having a little bit of trouble seeing how the cables connect to one another. Where there is the 4 pin cable from the ATX adapter, it seems to need to connect to a 6 pin cable, then to the ATX power supply... e.g. which side of the 6 pin cable should it connect to? Also, there are a few additional lengths of cable you show in your pic that aren't clear. Is it possible to add images of each of the cables and how they connect to one another? That would be very very useful:) I would be interested to know how this solution has held up for the last few months too:) Thanks for adding this page so far!
PermalinkGreystash - Admin
03 August 2024
Hey Bruce,
PermalinkSorry they're not very clear, I made several adjustments while doing this and forgot to reflect this in the photos. I've just taken my one apart and have taken some better photos.
It's been working flawlessy since first doing this and I've been really happy with the results. I thought it might get a little toasty but the exhaust fan seems to be doing a good job. The Noctua ones are almost silent which is great.
Good luck with your conversion!
Bruce
05 August 2024
Yes! All good now:) Can't believe how much quieter it is. You are right when you say the cabling and organisation in the case is the hard part:) Might investigate doing this on a Quicksilver too I recon. Will let you know how it goes:)
PermalinkGreystash - Admin
08 August 2024
Good to hear!! Yes it's so much quieter, those fans in the original PSU are noisy beasts.
PermalinkGood luck with the Quicksilver, I need to do mine too!
Post a Comment