
iMac G3 Cooling Modifications

18 June 2022
This guide has been updated and is no longer recommended.
A new guide has been written which includes improvements and details of better quality equipment/installation. Please see iMac G3 Cooling Modifications (Part II).
The iMac G3 and it's cooling issues
The iMac G3 is an easy favorite for many Apple computer owners. It was originally released in 1998 and had several variations until it was discontinued in 2003.
One of the biggest issues with the iMac G3 is that it was designed to be convection cooled, meaning no internal fans were used and the computer relied on heat rising out through it's top vent. Since there was no active cooling some components within the iMac are prone to damage and failure over time. The PAV board (Power, analog, video) and flyback transformer are the biggest points of failure due to heat damage, the GPU is also known to suffer from some of these issues.
When the PAV board or flyback transformer start to fail you may notice the CRT arcing - a thin line appears quickly across the screen accompanied with a static popping sound. Your iMac may also shut off unexpectedly, or refuse to power on. These symptoms are serious, arcing issues can become fire hazards and should be taken seriously.
Cooling modifications
I recently came into posession of an almost new condition iMac G3 "Flower Power" model and wanted to take care of it since it had been so well kept. I decided to install some internal fans to help the machine keep cool and avoid any serious component failures in the future.
The case design of the iMac makes it difficult to install standard sized computer fans. I didn't want to open the top of the case because since I'm not comfortable working near the CRT. I also didn't want to risk breaking any of the plastic case tabs which become brittle from years of heat and UV damage.
I purchased a variety of fans and a Molex fan adapter from AliExpress and local trading websites. I also installed a solid state hard drive (SSD) which made more free space where the HDD would sit which I made use of with the fan cables etc.
WARNING!
Extreme caution must be taken when working near CRTs. CRT power supply units can store enormous amounts of energy even after being unplugged and unused for a long period of time. An electric shock from one of these can kill you due to the extremely high buildup of current stored in the machine. Do not touch any of the power supply internals unless you know what you are doing and have correctly discharged the machine!Gear used
- 1x Molex 4-Pin to 4x 3-Pin Fan Cable
- 2x Winsinn (5v, 12v, 24v / 0.13A, 0.06A, 0.05A) 30x30x10mm (Don't buy these, they are terrible. Get Noctua fans with the same dimensions)
- 2x NMB-MAT (12v / 0.11A) 35x35x15mm
Approximate total cost: ~$27 NZD
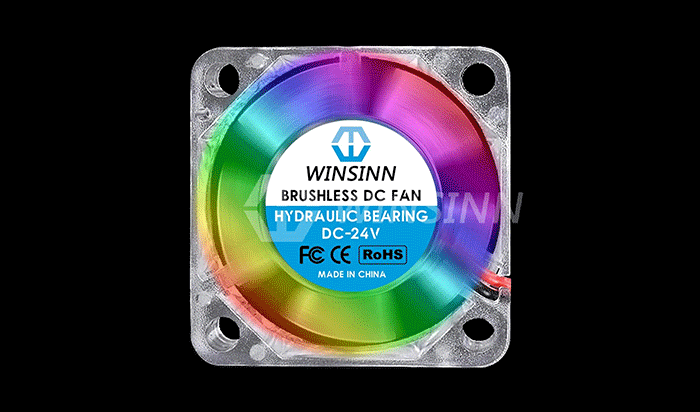
2x Winsinn 30mm 24v |

2x NMB-MAT 12v |
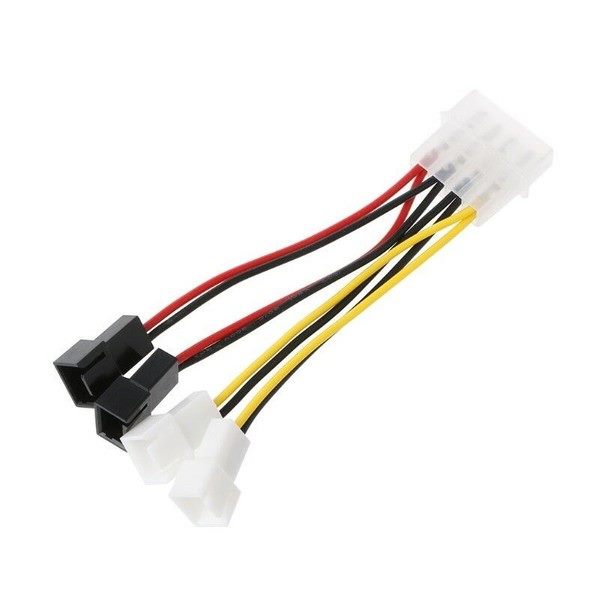
1x Molex 4-Pin to 4x 3-Pin Fan Cable |
Installation
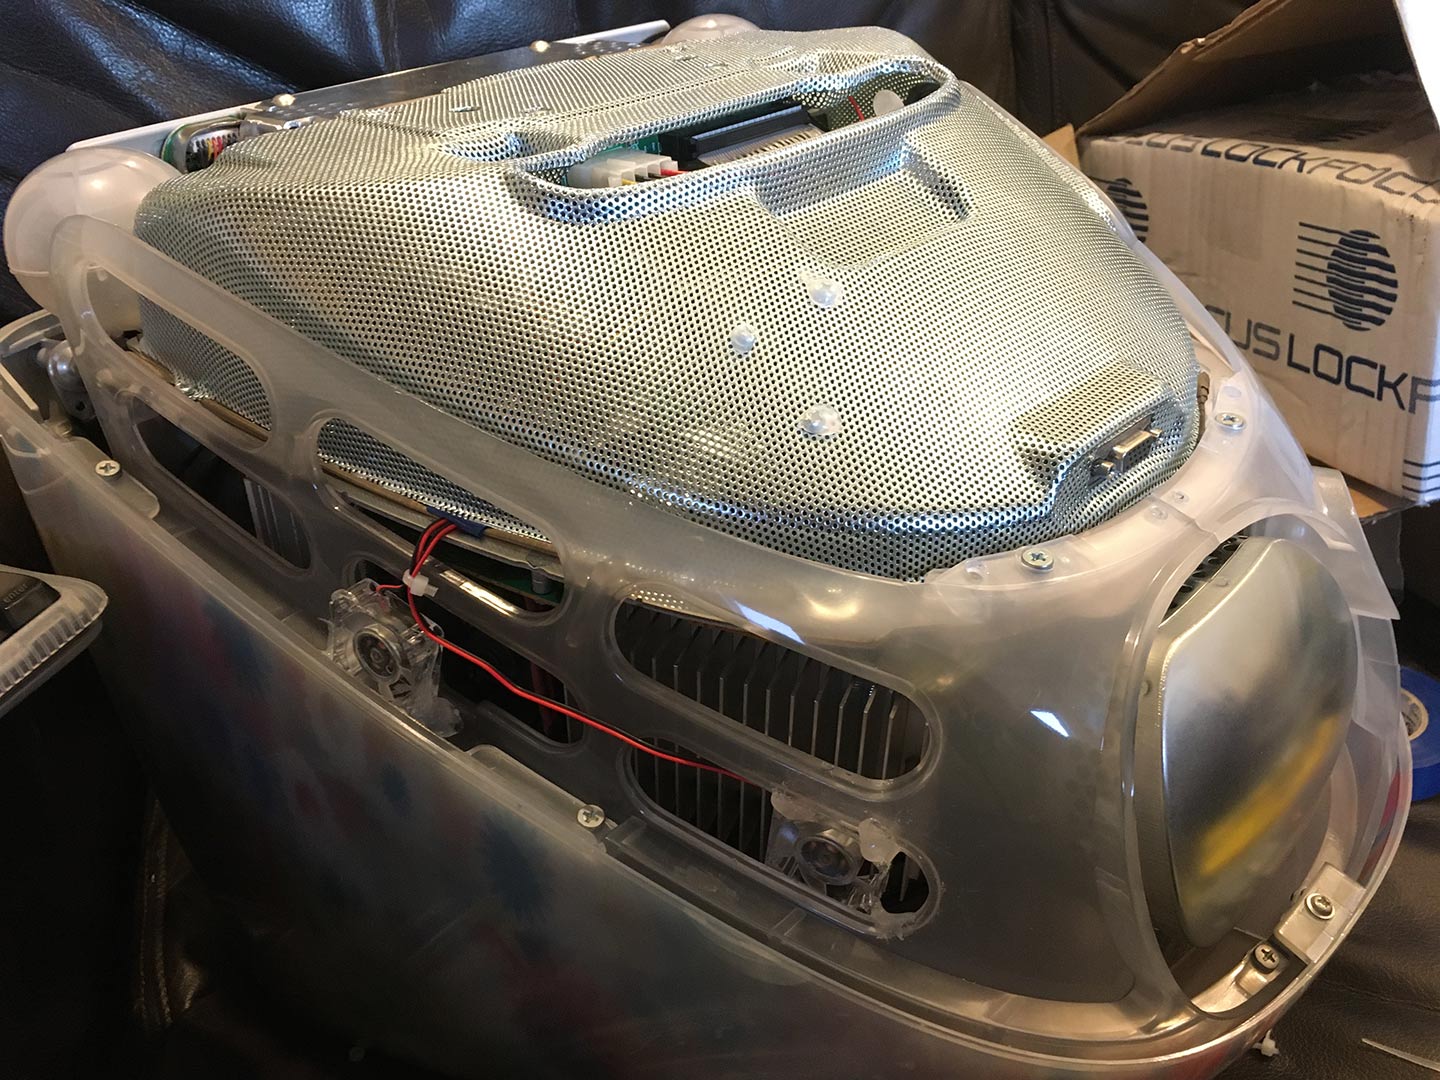
Fan #1
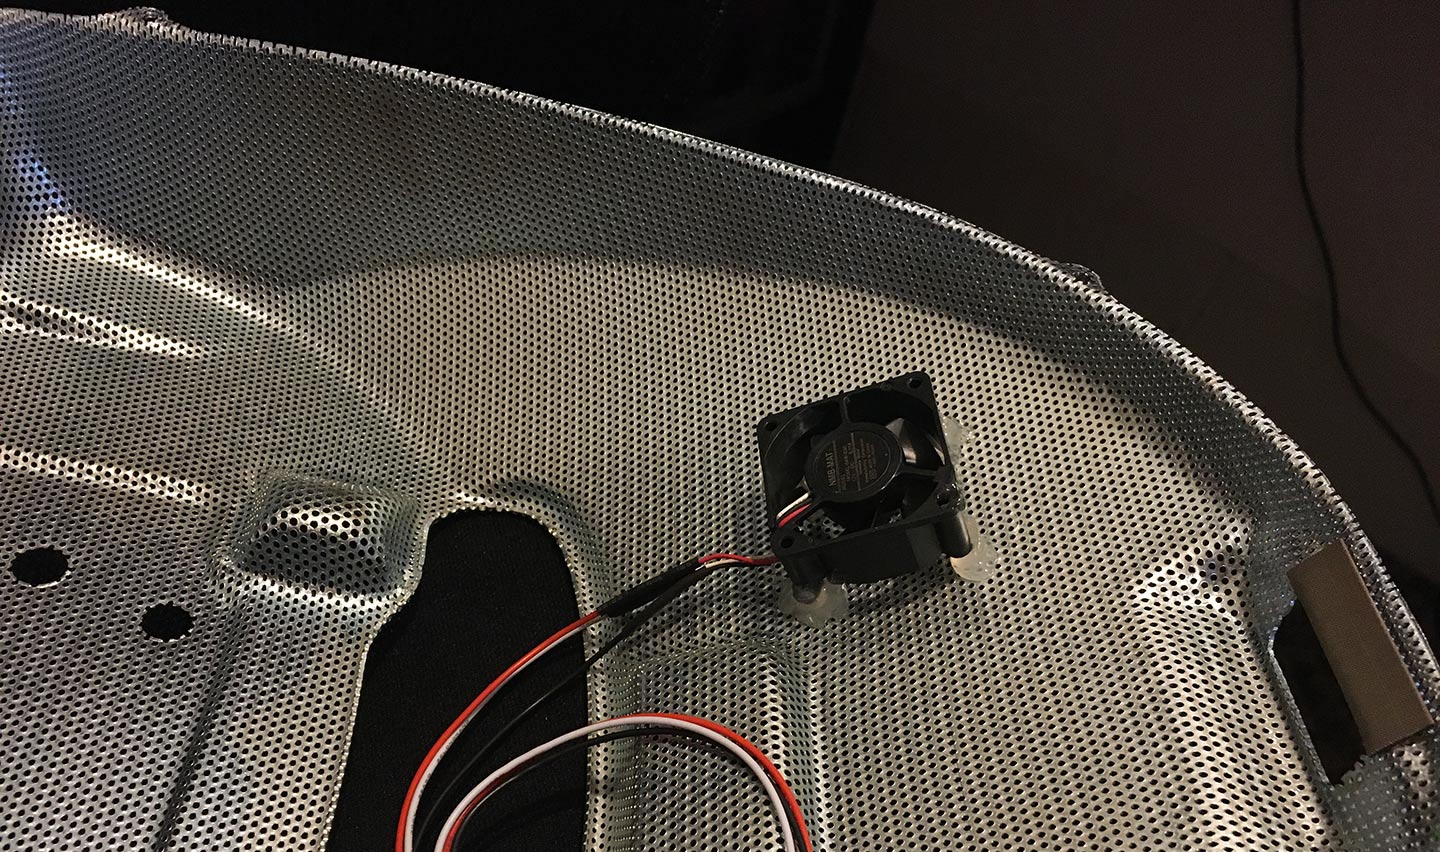
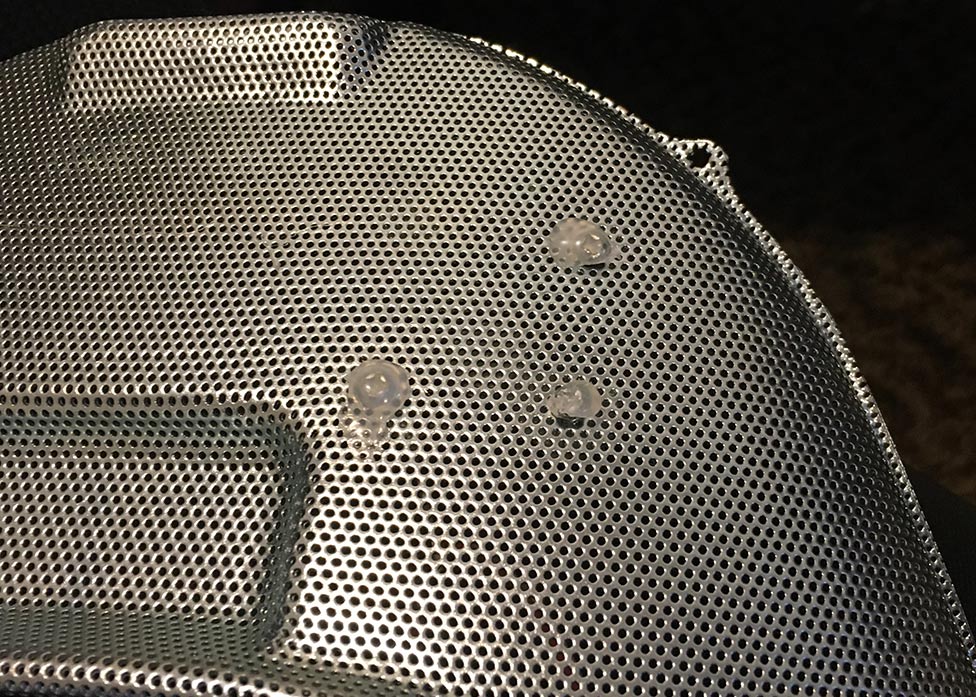
Several of the fans I purchased wouldn't fit anywhere useful since I didn't want to open the top case, so I began with the smallest fans I received. I placed one in front of the flyback transformer inside the case. Be very careful not to adjust the CRT dials on the transformer. I also placed packing foam inside the fan's screw holes and folded it through to reduce vibration when placing it inside the case. I used a hot glue gun to secure the fans because it's transparent and easy to remove if needed. It also meant that I didn't have to make any alterations to the case. This fan pulls air from the side of the case into the flyback transformer and across the PAV board. There's not much of a gap for airflow inwards but it does seem to pull enough air through. This fan runs at 12v.
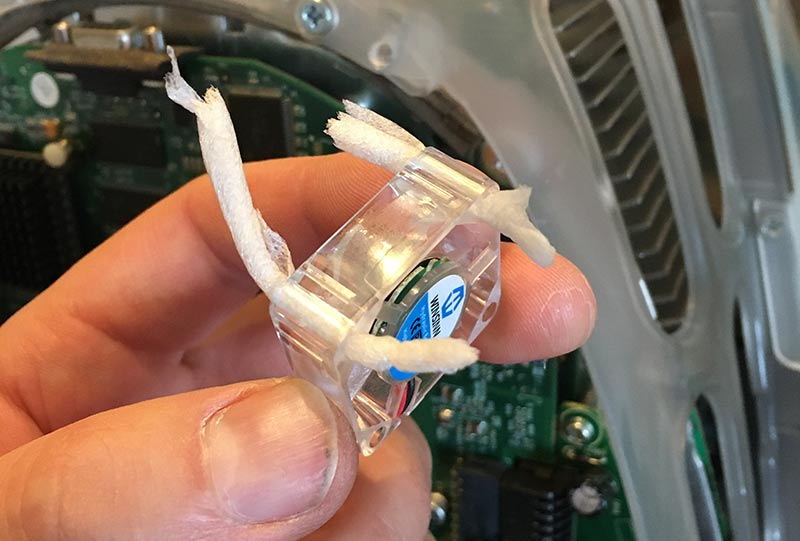
Foam placed to wrap around the fan to reduce vibration |
Fan 1 installed. Foam was folded across the top of the fan so the fan plastic wasn't touching the case |
Fan #2
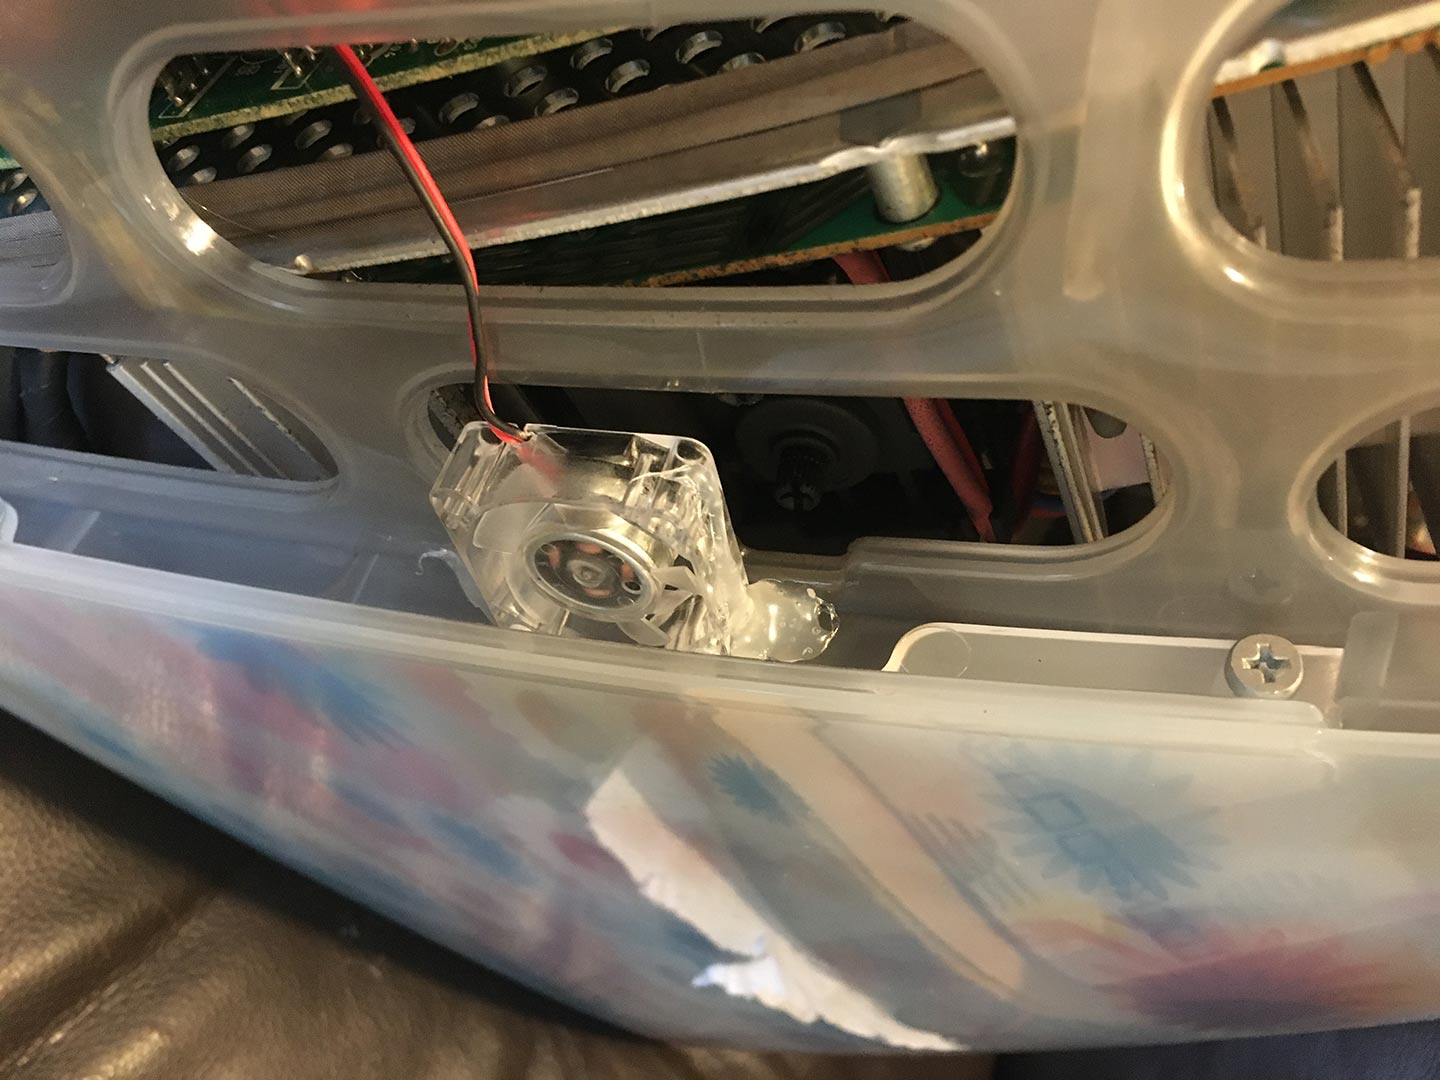
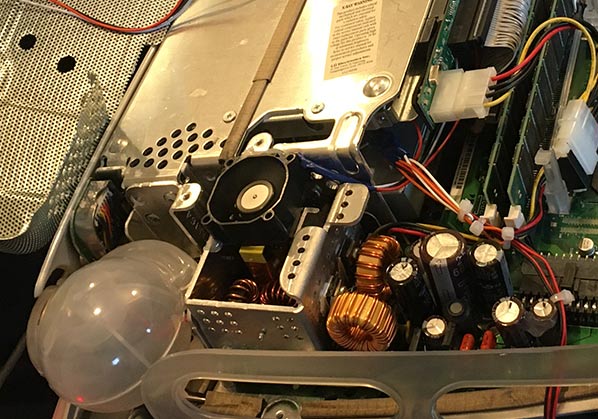
The second fan I installed was under the processor, and secured to the EMI shield. I drilled three holes into the shield because I have a spare if I ever wanted to replace it. This fan pulls in air from both of the bottom vents and runs at 12v. The air is directed at the CPU + GPU and spreads across the logic board and up the sides of the case.
Fan #2 mounted inside the EMI shield creating airflow inwards from the bottom of the case |
Both sides of the drilled holes were glued to ensure any fragments of the shield couldn't come loose |

|
Fan #3
After running the iMac for a while with the two fans installed I noticed that it still became hot at the bottom left side of the case (flyback transformer, PAV heat sink area) after running for +1hr. I opened the machine again and mounted another of the smaller fans to the case running at 12v blowing air directly onto the larger PAV heat sink. This pulls air from the side of the case and directs it straight onto the heat sink, which is then deflected upwards towards the top vent. After installing this fan there was a much more noticeable breeze coming from the top vent of the machine as it was running. The left side of the case is still warm with general use, but it's cooler than it was without the fans.
This fan is the noisiest in terms of vibration. I couldn't dampen the vibration with foam because I didn't want to risk it melting onto the heat sink. Instead I held the fan in place while it wasn't touching anything and hot glued it in place.
I didn't plan on using LED fans here, I'll probably replace them in the future.

|

|
Fan #4
I placed a fourth fan above the top end of the logic board PSU near the heat sinks. This also pulls air from the vents at the bottom of the case and directs it onto the PSU. This fan runs at 5v.
Ideally the machine should have a large fan above the PAV board, near the top vent increasing airflow out of the case. I wanted to do this but I couldn't find a way of doing this without removing the top case.
This was a tight fit when the EMF shield was put back in place but there was just enough clearance for the EMF shield |
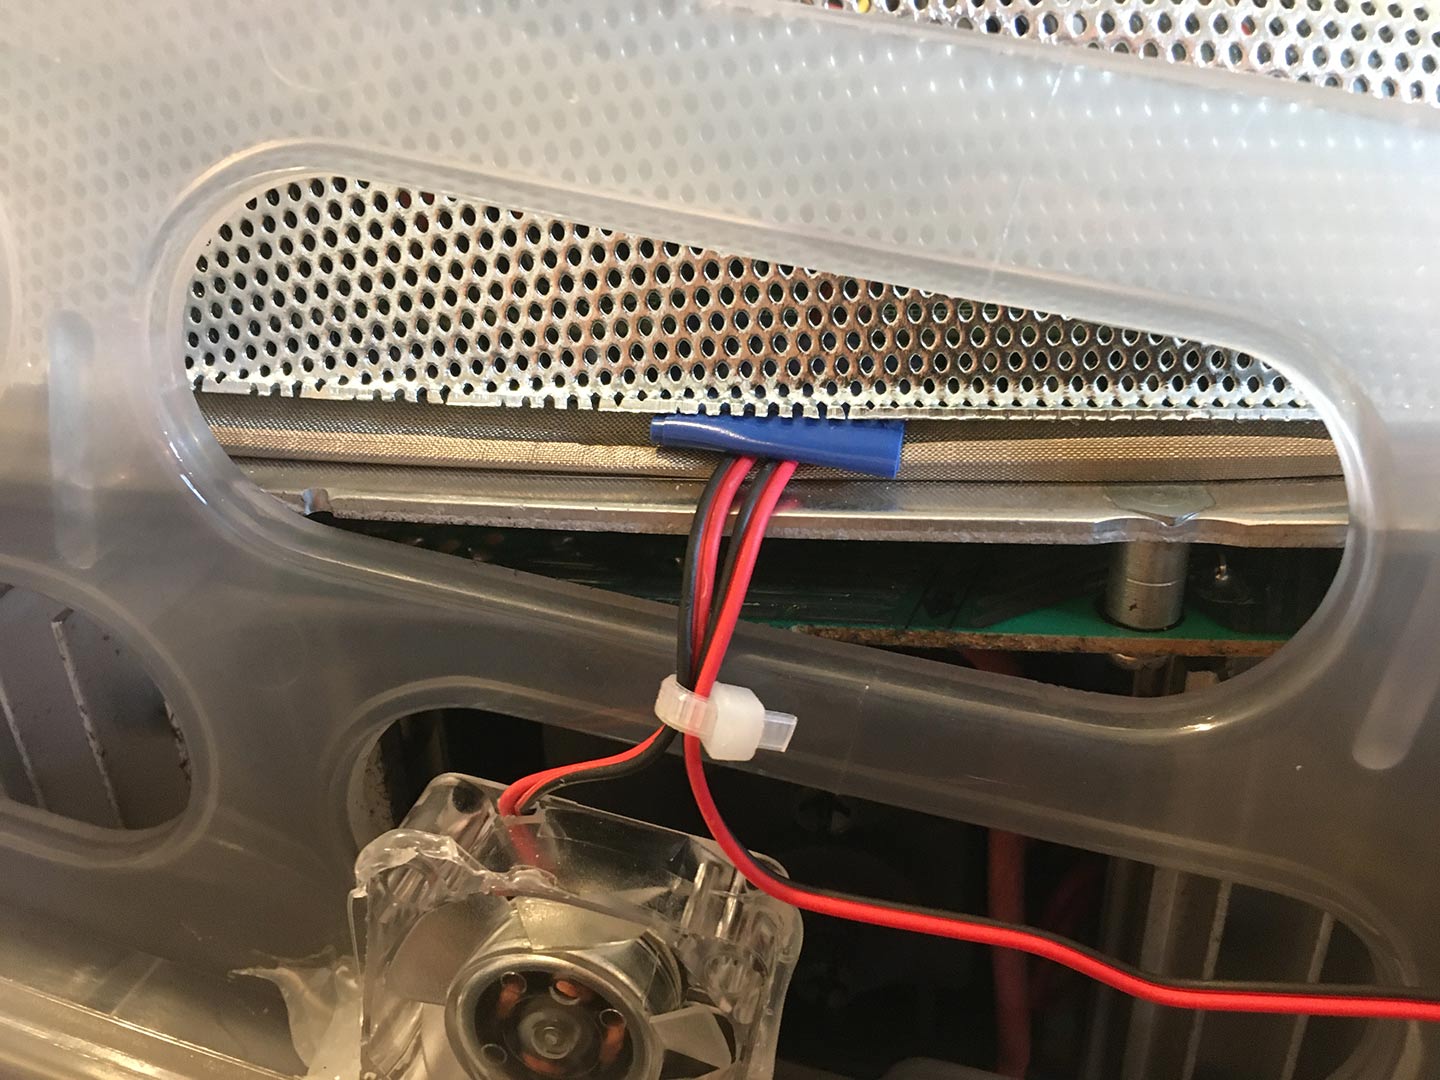
Before securing the EMF shield make sure your fan cables are protected with something so they don't get cut. I used folded insulation tape. |
|
Results
Noise
There is of course increased noise after installing the fans. This is why Apple opted for convection cooling rather than fan cooling. The noise is comparable to the sound of running an external mechanical HDD on top of a wooden desk. This of course could be improved with better quality fans.
Temperatures
There is only one temperature sensor present within the iMac G3 which is on the CPU. The maximum temperature I have noticed after vigorous testing was 48°C (which is very good) reported by G4 Strip CSM, and 46°C reported by Gauge Pro. Testing included running the games SimCity 3000 and Tropico for two hours, then general use of the machine for another 2 hours.
There is a good breeze coming from the top vent of the machine now. The does case still gets warm inside, but feels a lot cooler than what it did without any cooling.
Conclusion
To me the cooling additions were worth it and I believe they make a big difference with the internal temperatures. The added noise isn't that bad, I felt it was more annoying when I had a mechanical HDD installed (without cooling) and the constant seeking noises it would make. I plan on getting a temperature sensor to check the internal case temps and will update this page when I get the results.
Updates
- When first attempting this I purchased the cheapest fans I could find, and it now shows! Do not buy the Winsinn fans they are terrible and have developed ridiculous noises after the first few weeks of use. Go for a decent brand like Noctua with the same fan dimensions.
- A follow up article will be coming with an improved parts list when I can get the flyback transformer replaced in another machine.
Related Pages

|
iMac G3 Issues and Care07 May 2023
Information about the iMac G3, it's common issues, tips on preservation and repairs. |
Comments
GraphiteDV
29 July 2024
I like your writeup for active cooling. I inherited a graphite DV and got it working, upgraded the hard drive to SSD, only to have it fail after two weeks. I’m guessing it’s a failed flyback but assumed you can’t get a replacement. I’m hoping just the flback went out, not sure if it runied the board when it went, wish I knew how to tell. Were you able to get a repalcement that worked? I haven’t scrapped it yet as I’m hoping to be able to replace it at some point but can’t find any flybacks in stock. Was this a flyback specific to the original Imac or is it one that has matching specs?
PermalinkGreystash - Admin
03 August 2024
Sorry to hear that! That's so frustrating. I've assumed that my machines that arc badly and shut off are due to the flyback failure. It makes the most sense but haven't cleaned/re-seated the anode caps - that would be one way to narrow down the problem if you're experiencing arcing.
PermalinkI do have some brand new flybacks so they should work but I haven't installed them yet. I'm waiting to find somebody comfortable with this sort of electronic work to show me how to do this safely. Even if you can't find one it could be a good parts machine. A solid bezel is very hard to come by now.
This page has some info on the details I used to search for flyback transformers. The DV models have a different flyback than the original models, and unfortunately are more difficult to find.
Ramon
23 August 2023
hi there, Thanks for the excellent write-up! Could you share the links of the fans you used? I am having trouble sourcing them.
PermalinkGreystash - Admin
23 August 2023
Hi Ramon,
PermalinkDon't buy any of these fans yet! All the transparent fans failed miserably (poor quality) and I've just re-done this with Noctua fans, along with much better fan placement. I'll try get a new post out tonight with the updated details.
Bolkonskij
05 January 2023
Excellent article, love it! I've been thinking about getting an iMac G3 myself, the tangerine one has been a dream of mine since the early 2000s (when I couldn't afford one). Unfortunately, my understand is that they weren't built for durability - I've read numberous reports about the plastic case getting brittle with age and bursting, the CRTs dying (as you described) and other failures. I've briefly worked on a DV SE one of a friend back in the early 2000s when I opened up the thing to replace a dead HDD. So I know exactly what you describe by "risking to break the plastic case tabs". Since I'm not much of a hardware tinkerer I guess I'll let my dream remain a dream. But then, one of those days, one iMac might pop up on the local classifieds ...
PermalinkGreystash - Admin
05 January 2023
Thanks Bolkonskij! A tangerine one would be really nice, that's been one on my list too along with the sage model. I forgot how nice it was to use these machines, and I love the CRT! Amazing colors.
I have three: the Flower Power in perfect condition (no cracking or flyback issues), and two DV SEs with flyback issues and a small amount of cracking. I recently bought a new flyback from Donberg and need to find someone brave enough to replace the transformer in one of my DV machines.
I've had no trouble with the transparent cases, it's the inner bezel securing the CRT which is terrible. If you can avoid bumping/knocking it you should be fine, especially if it's been kept out of the sun. I keep my iMac covered whenever I'm not using it now, the UV damage wreaks havoc on the old plastics.
If you can find a machine that's been kept out of the sun and has no flyback issues I would grab it! They are a lot of fun.
PermalinkBolkonskij
05 January 2023
Interesting, so there are still flyback replacements available? I do like CRTs too, mainly because I used Mac OS on CRTs and the fuzzy colours give me a nostalgic feeling I guess :-) Any case restoration techniques known for the iMac G3? (like the retro brighting on beige Macs?) I also wonder about the convection cooling ... didn't Apple ship the earlier iMac G3 models with a fan (fruity colors?) and stopped that with the DV? My memory might be misleading but I seem to recall that the DV came without fans which was a novelty thing? Ah well, I may be growing old...
PermalinkGreystash - Admin
11 January 2023
I ordered two from Donberg but they only had one in stock and refunded me for the second one. I've seen the same model listed on several other websites so there does seem to be some out there still, but numbers are slowly diminishing!
I'm unaware of repair techniques for the iMac but I haven't really looked. Recently I've been testing some of the JB Weld glues repairing and reinforcing the hinge break points on my PowerBook 1400. I haven't tested the latest application but am hopeful it works!
Yeah from memory the original iMac line did come with fans and I think that's part the reason those models don't suffer as much from flyback issues. They can however suffer from other problems like GPU failure etc. It depends on how rough their working life was.
I think if I can keep the temperature down in my DV models they will be fairly robust machines for the future. I've added heat sinks to the GPU, CPU cache etc., and I felt brave enough a while back to remove the top casing and mounted a better fan at the underside of the top case vent. It stays much cooler under heavy load but I still want to try some decent fans like Noctuas and put together a permanent solution. I'm reluctant to test everything with my Flower Power machine so I'm waiting to get the flyback replaced on another.
PermalinkPost a Comment